HELP CENTRE
Roof Software Tips and Tricks
The following downloadable files are a series of documents for the Sorcerer, Wizard and Magician roof estimating software. The tips have been written to help take a new operator through the various processes one step at a time. These have been collected from our Customer Service Centre files. If you have a difficult question, drop us a line and maybe it will end up here too, helping someone just like you.
There is quite a collection now. So hopefully a detailed description already exists to help you with that cut up roof you're trying to model. As we update the downloadable printed help files (in PDF format) to reflect changes to our software, we will be adding a video clip to better explain what we're trying to show. Often, it is easier to see someone else do it and copy what you see.
Help Us Help You
If you have any further questions, please contact your local support guy or email AppliCad at support@applicad.com and we will be back to you within 24 hours, although it is usually a lot less. Help us help you, so include as much information as you can - consider clipping screen shots and including this in the email. Also think about attaching the roof plan to your email. There is no such thing as a 'typical' or 'normal' roof design. We need as much help as you can give us.
Get more from your software
and collect each one.
WE'RE CONSTANTLY DEVELOPING THE LIBRARY OF HELP FILES. PLEASE DROP BACK HERE AGAIN REAL SOON!
If you can think of a topic that needs a video tutorial to guide you, drop us a line and provide the details. We will create it and put it up here to help others.
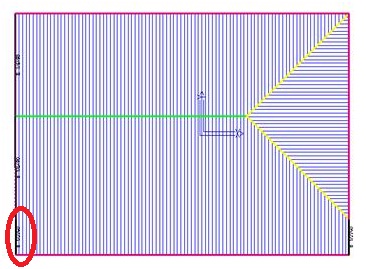
Generating metal panel cut lists with Roof Wizard.
![]()
You may also visit Ray's YouTube Channel - there are another 30+ video help files available there http://www.youtube.com/user/raymondcsmith?feature=guide
|
|
Checking Prompt Sheet Checking that your 3D model is correct is critical.
|
|
|
Video Help File V001 Creating 3D roof geometry the easy way
|
|
|
Video Help File V002 Creating Complex 3D roof geometry the one click at a time
The only software in the world that will produce this level of complexity as easily. |
|
|
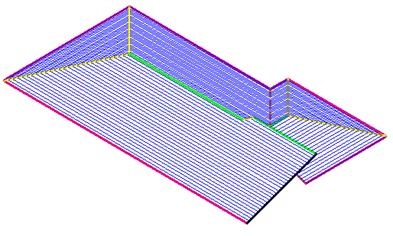
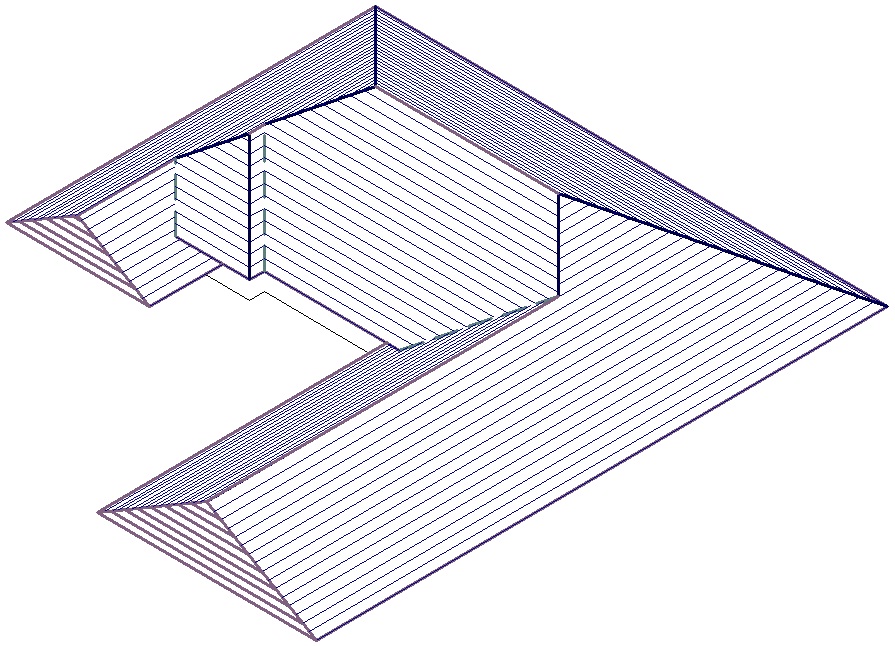
Tip 001 Cut-Out Verandah
A video clip explaining this tip is available.
|
|
|
Tip 002 Diamond Gable Roof
|
|
|
Tip 002a Bellcast
Verandah.
|
|
|
Tip 003 Project
Gable Comand
A video clip explaining this tip is available.
|
|
|
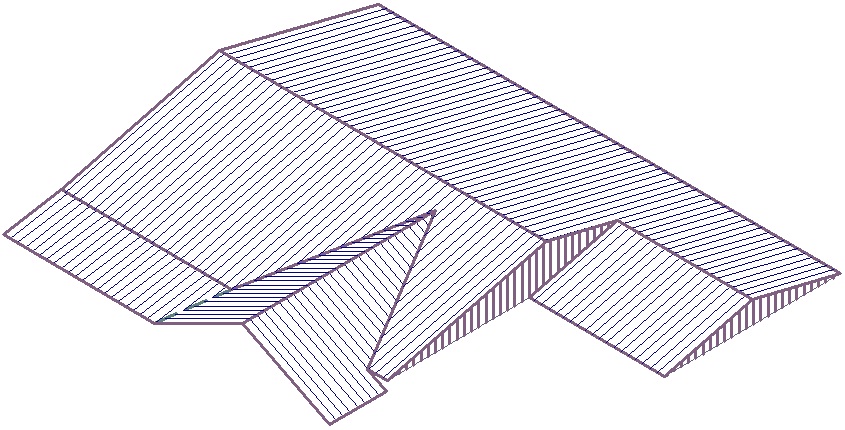
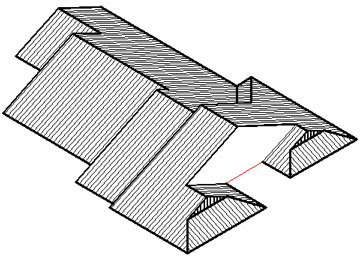
Tip 004 Intersecting Roof Slope.
A video clip explaining this tip is available.
|
|
|
Tip 004a Split Dormer Gables
|
|
|
Tip 005 Using Barge Lines
A video clip explaining this tip is available.
|
|
|
Tip 006 Dutch Gable
A video clip explaining this tip is available.
|
|
|
Tip 007 Creating
Courtyards
A video clip explaining this tip is available.
|
|
|
Tip 008 Internal
Box Gutters
|
|
|
Tip 009 Projecting
Gables
|
|
|
Tip 010 Creating Additional Hips
|
|
|
Tip 011 More Courtyards
|
|
|
Tip 012 Creating Additional Hips
|
|
Tip 013 A Grand
Entrance
|
|
|
Tip 014 A Bunch of Simple/Flat Roofs
|
|
|
Tip 015 Double Gables on the Ridge
|
|
|
Tip 017 Twin Townhouses
|
Deleting a model
|
Tip 018 Deleting a model
|
|
|
Tip 019 Portico Porch
|
|
|
Tip 020 Adding Low Set Bay Windows
|
|
|
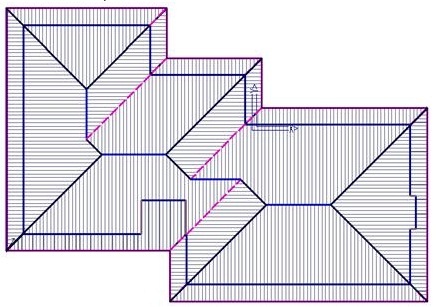
Tip 021 Planning Use of Fall Anchors
|
|
|
Tip 022 MonoRidge
Roof
|
|
|
Tip 016 Turrets in the Middle
|
|
|
Tip 023 Creating
Quote Groups
|
|
|
Tip 024 Digitising Digital Images
|
|
|
Tip 025 Adding and Costing Soffit
|
|
Fall Barriers
|
Tip 026 Using Fall Barriers
|
|
|
Tip 027 Using Smartlines #1
|
|
|
Tip 028 Cricket Tutorial
|
|
|
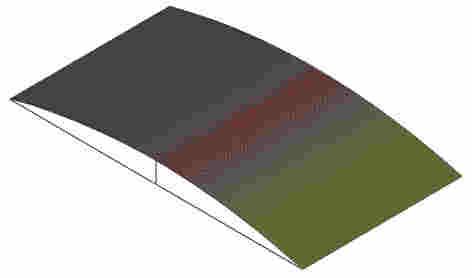
Tip 029 Curved (Arc) Sprung Roof Tutorial
|
 | Tip 030 Using Smartlines #2
|
 | Tip 031 Cranking or crimping roof sheets to achieve arc shaped roofs as often used in Africa and the UK.
|

| Tip 032 Split Panels
|
 | Tip 033 Using Smartlines toolkit to develop complex roof shapes.
|
 | Tip 034 Using CAD toolkit to develop complex roof shapes such as Spires and Domes and then creating a flat pattern of the shape.
|
 | Tip 035 Using Smartlines toolkit to develop mid roof gable (similar to Tip #3).
|
 | Tip 036 Two Storey Roof
|
 | Tip 037 Using regular Construct Roof > Smartlines functions to develop a multi-level roof.
|
 | Tip 038 Using regular Construct Roof functions to develop a multi-level roof.
|
 | Tip 039 Removing co-linear rake lines on the gable end.
|
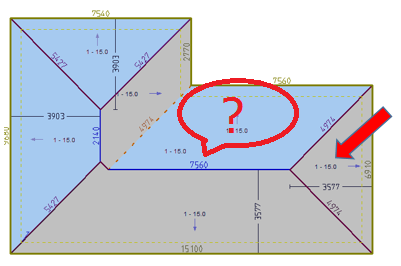
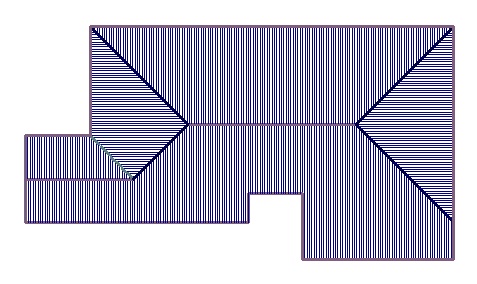
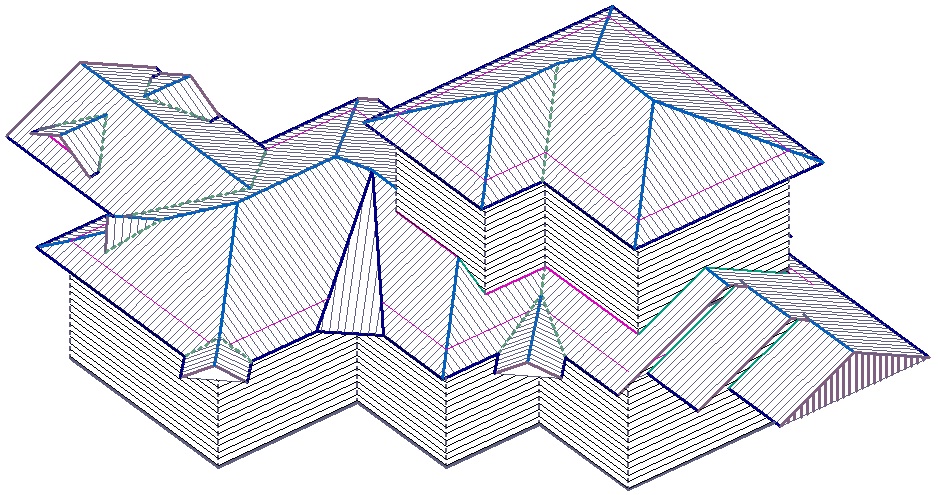
 | Tip 040 Creating multi-pitch roof from a field sketch.
|
 | Tip 041 Creating multi-pitch roof from a a scanned plan. It is in two parts because it needed some cleaning up after the automatic features had done their job. Part 1 - Digitising over a JPG
Part 2 - Cleaning up afterwards
If you get your plans as PDF documents, consider using a utility such as Universal Document Converter to change them to JPG so you can use them as an underlay image to digitise from.
|
 | Tip 042 Digitising Aerial Images to prepare a client estimate/proposal. Using services such as Bing, Google and Pictometry.
|
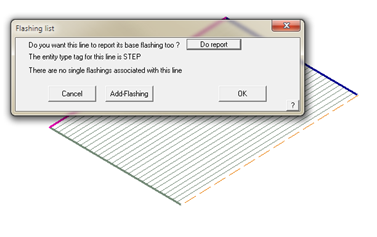 | Tip 043 Adding 'Single Line' Trim
|
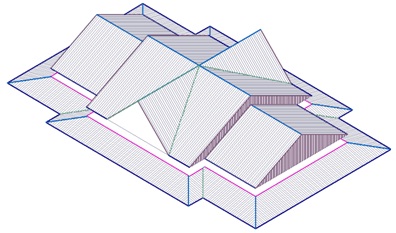 | Tip 044 How to build this clubhouse the easiest way.
|
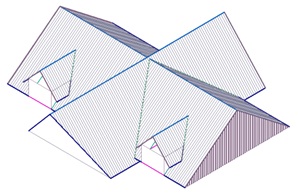 | Tip 045 More Dormers
|
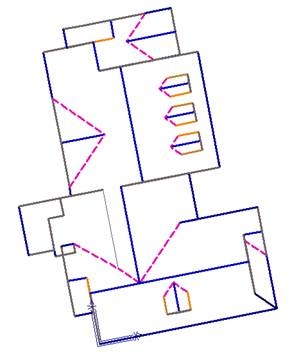 | Tip 046 Digitise from Aerial Images #2
|


Thanks
And drop back soon for more
useful tips and tricks from the Customer Support Team.
Don't forget to send us your ideas. You may email us the processes you used and
the model database.
*Please ensure that we do not breach copyright on any drawings you might send in for us to prepare design notes on.